Custom Metal Installation: The Ultimate Guide
This ultimate guide to custom metal installation provides a comprehensive understanding of the process, from start to finish. Whether you're a DIY enthusiast or a professional contractor, this guide has everything you need to know about metal installation, including the best practices, common problems, and solutions. From measuring and cutting to polishing and protecting, this guide covers it all. By following these simple steps, you can ensure a successful and long-lasting metal installation project.
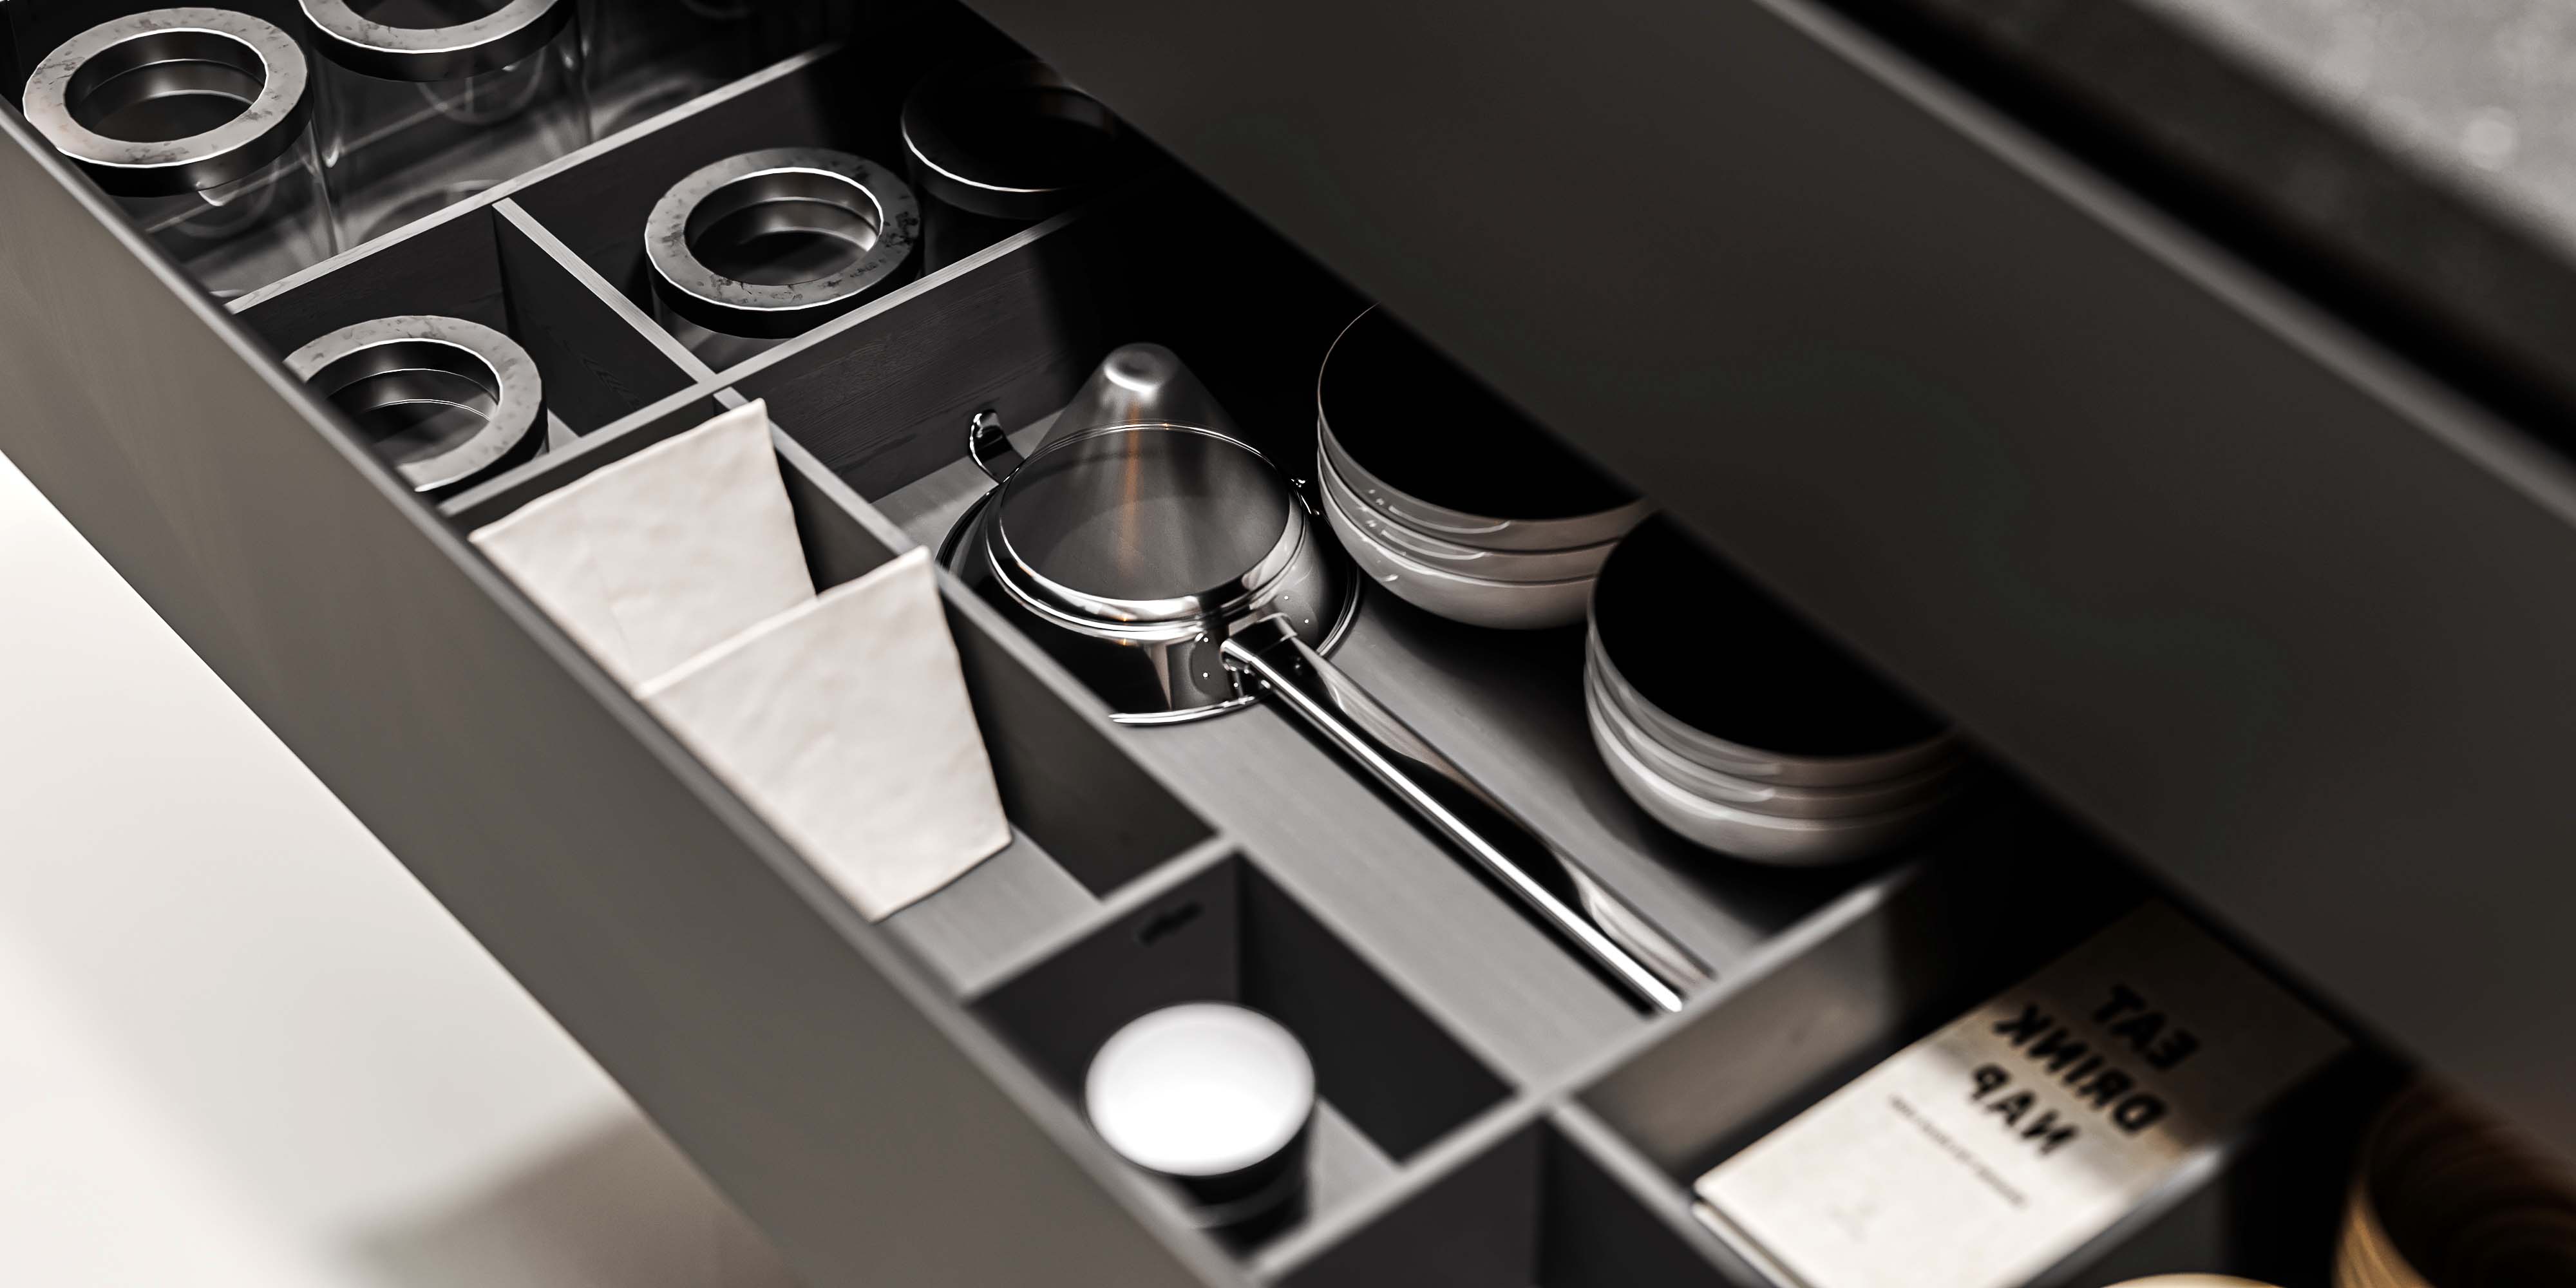
When it comes to metal installation, there are many aspects that need to be considered. From the type of metal to the installation process, each step is crucial for ensuring the final product is both functional and aesthetically pleasing. In this guide, we’ll take you through the essential steps for a successful custom metal installation.
1、Determine the Type of Metal

The first step in any metal installation project is to determine the type of metal that best suits your needs. There are numerous types of metal available, each with its own unique properties and applications. Consider factors such as durability, cost, and aesthetic appeal when selecting your metal type.
2、Measure and Mark the Area
Before installing the metal, you need to measure and mark the area where it will be installed. This ensures that the metal will fit properly and that the installation process will be smooth. Use a measuring tape or laser measure to get the correct measurements, and then mark the area using a pencil or chalk.
3、Prepare the Surface
The surface where the metal will be installed needs to be prepared properly. This involves cleaning the area to remove any dirt or debris, and ensuring that it is smooth and level. If necessary, use a scraper or sandpaper to smooth out any rough edges or imperfections.

4、Apply Adhesive or Fasteners
Once the surface is prepared, you can proceed with applying adhesive or fasteners to secure the metal in place. The type of adhesive or fastener used will depend on the type of metal and the application. Ensure that you follow the manufacturer’s instructions for proper application.
5、Install the Metal
Now it’s time to install the metal itself. Carefully align the metal with the marked area, and use a level or straightedge to ensure that it is straight and plumb. If necessary, use a hammer or mallet to gently tap the metal into position.
6、Clean Up and Inspect

Once the metal is installed, take some time to clean up the area and inspect the final product. Remove any excess adhesive or debris, and ensure that the metal is properly secured in place. If everything looks good, you can move on to the next step.
7、Care and Maintenance
Custom metal installations require some basic care and maintenance to keep them looking their best. Regularly clean the surface to remove any dust or dirt buildup, and use a suitable polish or protectant to maintain the luster and durability of the metal.
In conclusion, custom metal installation can be a rewarding project that adds value and beauty to any home or commercial space. By following these essential steps, you can ensure that your metal installation will be both functional and aesthetically pleasing for years to come. Whether you’re installing a new kitchen cabinet or updating the look of your bathroom, remember to take your time and do it right the first time.
Articles related to the knowledge points of this article:
Custom Hardware for the Entire House: Drying Nuts
Customized Metal Parts Manufacturing: A Tailored Solution for Robust Industrial Solutions
ZHOUSHAN CUSTOMIZED HARDWARE AND ELECTRO-MECHANICAL DEVICES
Clouds of labels: Yunnan Wujin labeling machine customization