Installing Partition Hardware Components: A Comprehensive Guide
Installing partition hardware components is an essential aspect of computer system setup. This comprehensive guide covers all the necessary steps to ensure successful installation of these components. It begins with understanding the various types of partition hardware available in the market, followed by selecting the appropriate one based on the system requirements. The guide then provides step-by-step instructions on how to install and configure the partition hardware components, including configuring the boot order, creating and formatting partitions, and assigning drives to partitions. It also covers troubleshooting common issues that may arise during installation, such as invalid partition table errors or disk read/write failures. Additionally, the guide includes important safety precautions to take while handling hardware components and offers tips on how to prevent data loss during installation. Overall, this comprehensive guide provides readers with all the necessary information and skills needed to successfully install partition hardware components and improve the performance of their computer systems.
Introduction:

Partition hardware components play a crucial role in the construction of modern buildings and spaces. They provide functionality, style, and flexibility to enhance the overall aesthetic appeal of a space. In this article, we will explore the process of installing partition hardware components, covering various aspects such as materials, tools, techniques, and safety precautions. By following the steps outlined below, you can ensure that your partition hardware installation is both efficient and successful.
Materials Required for Partition Hardware Installation:
To begin with, it is essential to gather all the necessary materials required for the installation process. The following list provides an overview of the most common materials used in partition hardware installations:
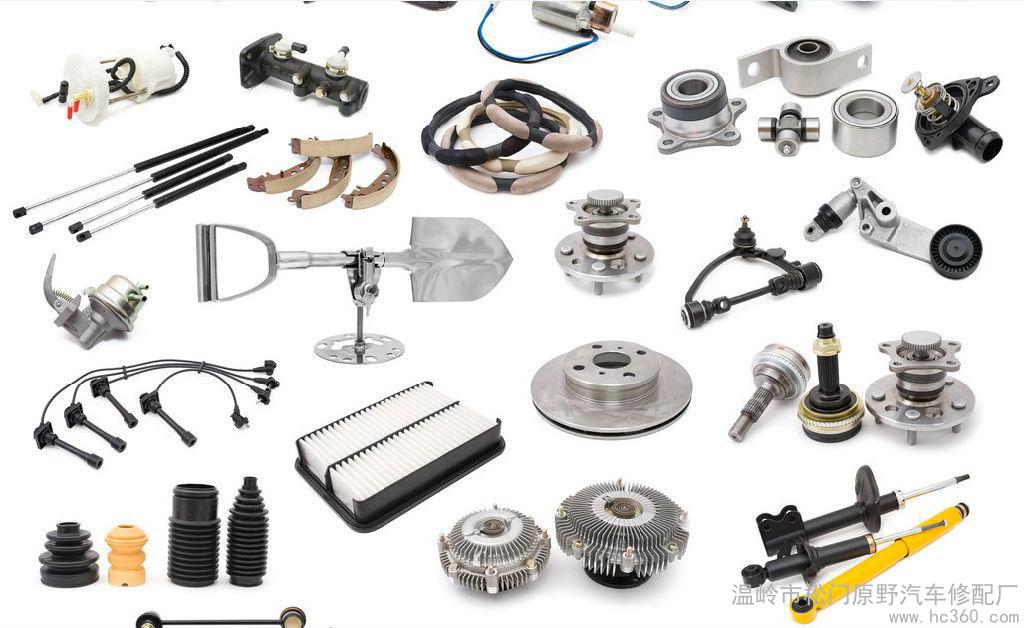
1. Partition panels: These are typically made of wood, metal, or plastic and come in various shapes and sizes to suit different needs.
2. Fasteners: These include screws, anchors, and brackets that secure the partition panels in place. It is important to use high-quality fasteners that can withstand the stresses of frequent usage.
3. Measuring tools: You will need a tape measure, pencil, and leveling tool to ensure accurate measurements during installation.
4. Saws and drilles: Depending on the type of partition panel material, you may need specific saws or drills to cut and shape the materials accordingly.
5. Finishing materials: These include paint, stain, or varnish to give your newly installed partition a polished look.

Tools Needed for Partition Hardware Installation:
Once you have gathered all the necessary materials, it is time to equip yourself with the right tools for the job. The following list outlines some of the most important tools you should have on hand:
1. Hammer: A claw hammer or framing hammer is essential for driving nails and removing them when necessary.
2. Screwdriver: A wide range of screwdrivers is needed to accommodate different types of screws and bolts.
3. Pliers: A set of adjustable pliers can be useful for gripping and manipulating small parts.
4. Level: A spirit level or laser level helps ensure that your partition is straight and level.
5. Drill press or hand drill: Depending on the size and complexity of your project, you may need a drill press or hand drill with various attachments (e.g., drill bit, sanding disc) to complete the installation.
6. Safety equipment: Always wear appropriate safety gear such as gloves, goggles, ear protection, and a hard hat when working with tools or handling heavy materials.

Steps for Installing Partition Hardware Components:
Now that you have prepared all the necessary materials and tools, it's time to get started with the installation process itself. The following steps outline a general guide for installing partition hardware components:
1. Prepare the walls/floors: Before beginning any installation work, ensure that the walls/floors are clean, dry, and free of any obstructions such as nails, screws, or other debris. If necessary, apply a sealant or primer to prevent damage caused by moisture or insects.
2. Measure and cut the partitions: Using a tape measure and pencil, mark out the dimensions of your desired partition panels based on the existing space. Once you have determined the size of each panel, use saws or scissors to cut them to size according to your measurements.
3. Install the partitions: Begin by attaching the bottom row of partitions using screws or anchors provided with the panels. Make sure that they are securely fastened in place before moving on to install the remaining rows. When installing each row, use leveling tools (e.g., spirit levels or laser levels) to ensure that they are perfectly parallel and straight.
4. Finishing touches: Once all rows of partitions have been installed, add finishing touches such as painting or staining to match your desired color scheme
Articles related to the knowledge points of this article:
Title: Internal Reverse Fitting Hardware Components
Title: Understanding the Cost of Nanjing Hardware Accessories Processing
Title: Comprehensive JIAZHANG NUCLEOGENIC POWER PLANT HARDWARE ACCESSORIES PRICE LIST
Guangdong Province Windows and Doors Hardware Fittings Factory
Plug Hardware Fittings: The Key Components in Electrical Connection